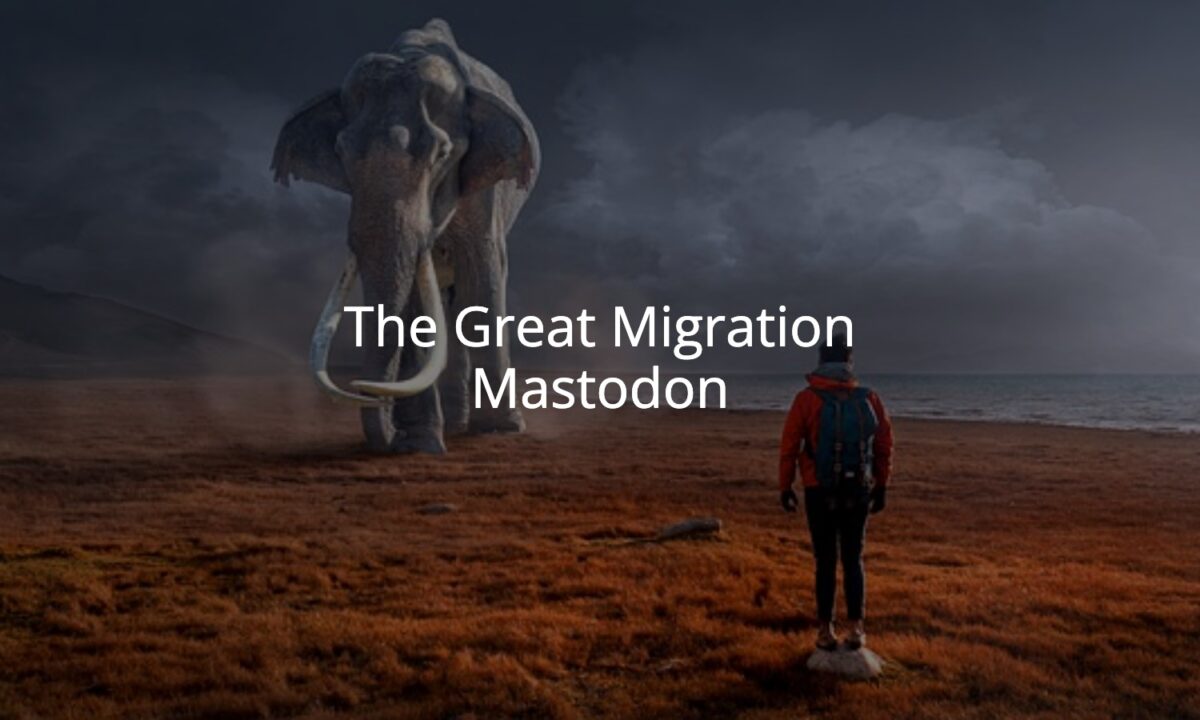
Among the cloud servers I used to manage was a single-user instance of Mastodon. This was my first foray into federated content distribution. Maintaining the server – and keeping ownership if my own content – is critical. Paying monthly for an expensive cloud server is not.
The instructions for installing Mastodon on a full server are stellar. Those for installing within Docker, not so much.
Luckily, like with most things open source, I was not the first to take this journey. I was able to use existing blog posts detailing the process of a setup, paired with official documentation on a migration, to adequately move my box!
If you are following this article as a step-by-step walkthrough, ensure you have stopped all Mastodon services on the live server prior to running any exports or backups!!!
Docker Compose
The Mastodon project ships with a fairly solid docker-compose.yml file to begin with. It’s geared for local development but serves as a stellar starting point for standing up a server as well. There are just a few things you need to change:
- Comment out any
builddirectives - Set the
imagedirective on thewebcontainer to point to an explicitly tagged version - As Mastodon isn’t the only thing running on this machine, I also changed the network configuration to refer to “mastodon_internal” and “mastodon_external” to keep things more cleanly separated from other services on the machine
Prior to any next steps, I also explicitly migrated the .env.production file from my live server instance to the Docker host. This also required updating strings like DB_HOST and REDIS_HOST to point to the Docker-hosted versions of those tools rather than merely to localhost.
Migrating the Database
The next step is to set up and configure the database. Given we’re migrating a data store rather than setting something up from scratch, this is slightly different than some of the other walkthroughs. Using the password from our set .env.production file, we can bootstrap the Postgres data backend:
docker run --rm --name postgres \
-v $PWD/postgres14:/var/lib/postgresql/data \
-e POSTGRES_PASSWORD=<password> \
-d postgres:14-alpine
Next we’ll shell into the container to create the user leveraged by Mastodon itself:
docker exec -it postgres psql -U postgresFollowed by:
CREATE USER mastodon WITH PASSWORD '<password>' CREAETDB;
exit
With the database bootstrapped and the user created, we still need to restore our data. Feel free to exit from the interactive session within the Postgres container. Then use pg_dump on the live server to create a backup and copy that file into the temporary container as follows:
docker cp mastodon_backup.dump postgres:/mastodon_backup.dumpReconnect to the container using Bash in order to leverage pg_restore to populate data:
docker exec -it postgres bashFollowed within the container by the following:
pg_restore -Fc -j4 -U mastodon -n public --no-owner --role=mastodon -d mastodon mastdon_backup.dumpOnce the data is populated, exit out of the container once again. You can then stop and clean up this temporary container with:
docker stop postgresOther Migrations
I had long ago configured my server to cache media to Amazon S3 (which is then served from a CloudFront distribution to keep costs down), so there weren’t any static files left to migrate. However, I did attempt to migrate Redis data by:
- Stopping Redis on the live server
- Running a database dump
- Placing the generated
dump.rdbinto the local filesystem (theredis/directory mounted by Docker Compose)
I’m not entirely sure if it made a difference, but given it’s a recommended step in the official server migration documentation, it seemed like a good idea.
To be save, I also ran the typical asset precompilation step though I’m not sure it made a difference:
docker compose run --rm web bundle exec rails assets:precompileIt also became evident during my testing that I needed to properly set ownership of the directories on the host that were mounted into the containers. I did this with the following two commands:
sudo chown -R 70:70 postgres14
sudo chown -R 991:991 public
Running and Access

From there, starting the system was as simple as:
docker compose up -dThen, just like with other services on the machine, I configured my Cloudflare Tunnel to properly route traffic to the web container running on the host. Everything appeared to be running smoothly, I could post content, I could consume content, and others could see my server as well!
Streaming
Once I stood things up and connected the Cloudflare Tunnel I noticed several errors in the browser console. Specifically, the system was having difficulty routing websocket connections for the Streaming API using the routes I’d previously configured for a standalone host.
My first attempt at a fix was to add similar routes within Cloudflare – that proved ineffective.
The actual fix is to set up a secondary hostname (ws.tekton.network) and map that in the .env.production file with a STREAMING_API_BASE_URL variable. The hostname points to the same tunnel, but to port 3040, which is the host port on which I expose the container. Once that was in place, the console errors disappeared and the server was fully functional!
Two expensive cloud servers down; three left to go.