I absolutely loved Google Reader. It was my home page and the way I started every morning with news feeds and updates. When Google unceremoniously killed the project in 2013 it upset the way I interacted with the internet.
I still haven’t found a usable alternative.

I’ve followed Zak on Mastodon for a while, so I was eager to see what he settled on. It turns out it was a tool I’d never heard of before.
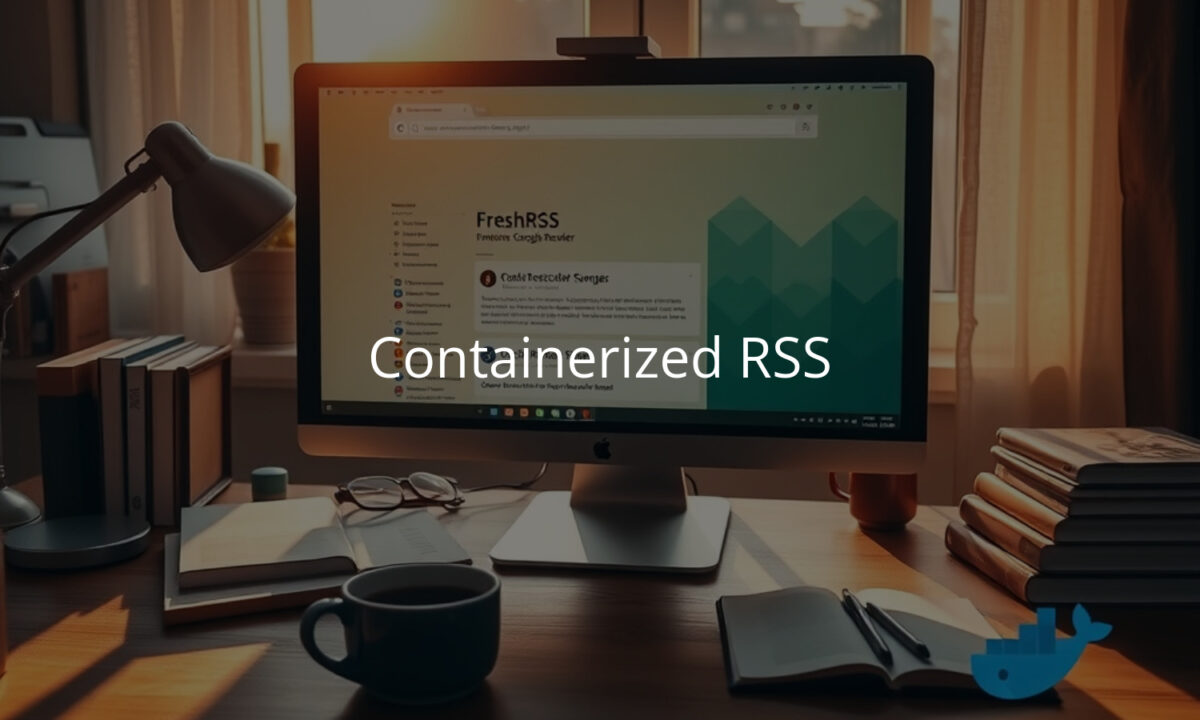
FreshRSS

FreshRSS isn’t necessarily breaking new ground. The UI looks like an updated take on the Google Reader of old and it looks stable enough from a development perspective. I figured I should give it a try.
In the spirit of everything else I’m doing these days, I’ll stand things up locally. The server will run in Docker1In the future I’ll provide further details on how to install things with Kubernetes as an alternative. Using Docker Compose for now is quick, easy, and much more accessible to casual users. and I’ll expose it to my network over Tailscale. You can follow along here as I build it out, or just check out my GitHub repo to run your own.
Prerequisites
If you don’t already have it installed, please set up Docker and Docker Compose.
Next, set up an account with Tailscale. A Personal account is free and comes with all of the necessary features you’ll need for this project. Once you have it set up and installed locally, go into your admin console. Then click Settings and scroll down to Keys under the Personal Settings section.
You need to create a new Auth key for this project. Feel free to leave all of the default settings for now. Write down your key for later because you can’t view it a second time.
That’s it. Feel free to either follow along or just skip my notes and clone the project.
Docker Compose
The root of our configuration is docker-compose.yml. This file defines the containers we’ll be running – one each for FreshRSS itself, for a backing Postgres database, and for Tailscale. Note that we’ll be explicitly targeting version 1.26.1 rather than a latest tag for FreshRSS.2You can always target :latest directly, but I like to be explicitly on the software I run so I can handle potentially breaking upgrades manually when they happen.
services:
  freshrss:
    image: freshrss/freshrss:1.26.1
    restart: unless-stopped
    logging:
      options:
        max-size: 10m
    volumes:
      - ./data/data:/var/www/FreshRSS/data
      - ./data/extensions:/var/www/FreshRSS/extensions
    ports:
      - "8040:80"
    environment:
      TZ: America/Los_Angeles
      CRON_MIN: '3,33'
      FRESHRSS_INSTALL: |-
        --api-enabled
        --base-url ${BASE_URL}
        --db-base ${DB_BASE}
        --db-host ${DB_HOST}
        --db-password ${DB_PASSWORD}
        --db-type pgsql
        --db-user ${DB_USER}
        --default-user admin
        --language en
      FRESHRSS_USER: |-
        --api-password ${ADMIN_API_PASSWORD}
        --email ${ADMIN_EMAIL}
        --language en
        --password ${ADMIN_PASSWORD}
        --user ${ADMIN_USERNAME}

  postgres:
    image: postgres:17
    restart: unless-stopped
    logging:
      options:
        max-size: 10m
    volumes:
      - ./data/postgres:/var/lib/postgresql/data
    environment:
      POSTGRES_DB: ${DB_BASE:-freshrss}
      POSTGRES_USER: ${DB_USER:-freshrss}
      POSTGRES_PASSWORD: ${DB_PASSWORD:-freshrss}
In order to actually run this, you’ll also need a .env file to set the various configuration constants:
# Example of environment file for docker-compose
# Copy this file into your own `.env` file

# ================================
# FreshRSS
# ================================

ADMIN_USERNAME=admin
[email protected]

# Published port for development or local use (optional)
PUBLISHED_PORT=8040

# =========================================
# For automatic FreshRSS install (optional)
# =========================================

ADMIN_PASSWORD=freshrss
ADMIN_API_PASSWORD=freshrss

# Address at which the FreshRSS instance will be reachable:
BASE_URL=http://localhost:8040

# ===========================================================
# Database credentials
# ===========================================================

DB_HOST=postgres
DB_BASE=freshrss
DB_USER=freshrss
DB_PASSWORD=freshrss
With just these two files, running docker compose up will install FreshRSS on your local system and give you access via http://localhost:8040.3The docker compose up command will run the stack in the foreground with logs. If you want things to run in the background instead, use docker compose up -d to daemonize the application. Use the username admin and the password freshrss:

The key things to note about this configuration that you might want to change:
- We’re using remarkably weak default passwords both for the database and the default users. The database isn’t too much of a concern as it’s not exposed. But once we expose our server over Tailscale, you’ll want a much stronger password!
- The local
/datadirectory is being mounted into both the FreshRSS and Postgres containers for persistent data storage. This helps if you want to proactively back things up and allows for things to stay stable between restarts.
If this is all you need, you can stop now! If you want other machines in your network (like your mobile phone) to have access, read on …
Tailscale
I use Tailscale to network all of my machines together. This gives me instant access to private, self-hosted services like Git or NextCloud from anywhere. It also allows me to SSH into any of my machines (cloud servers, NUCs, etc) from any of my devices – without exposing SSH to the world!
I recently added Docmost to my personal cloud as a Notion alternative. Thanks to Tailscale Funnel, I can also expose that same server to the world when I want to!
For FreshRSS, we just want it internally. To do so, we need to add a ts-serve.json file to our stack and wire in a Tailscale container as well to handle traffic. The serving configuration is straight-forward:
{
    "TCP": {
        "443": {
            "HTTPS": true
        }
    },
    "Web": {
        "${TS_CERT_DOMAIN}:443": {
            "Handlers": {
                "/": {
                    "Proxy": "http://127.0.0.1:80"
                }
            }
        }
    },
    "AllowFunnel": {
        "${TS_CERT_DOMAIN}:443": false
    }
}
If you intend to avail your new FreshRSS instance to the world, set the AllowFunnel configuration to true and anyone will be able to visit the site in their browser using your Tailnet URL. If you do this, ensure you’re using a strong password for your admin user!
Next, we add a Tailscale service to our docker-compose.yml:
services:
  tailscale:
    hostname: ${TAILNET_NAME}
    image: tailscale/tailscale
    volumes:
      - ./data/tailscale:/var/lib/tailscale
      - ./ts-serve.json:/config/ts-serve.json:ro
      - /dev/net/tun:/dev/net/tun
    cap_add:
      - net_admin
      - sys_module
    environment:
      TS_AUTHKEY: ${TS_AUTHKEY}
      TS_SERVE_CONFIG: /config/ts-serve.json
      TS_AUTH_ONCE: true
      TS_STATE_DIR: /var/lib/tailscale
      TS_HOST: ${TAILNET_NAME}
    restart: unless-stopped
    networks:
      - freshrss

  freshrss:
    image: freshrss/freshrss:1.26.1
    restart: unless-stopped
    logging:
      options:
        max-size: 10m
    volumes:
      - ./data/data:/var/www/FreshRSS/data
      - ./data/extensions:/var/www/FreshRSS/extensions
    environment:
      TZ: America/Los_Angeles
      CRON_MIN: '3,33'
      FRESHRSS_INSTALL: |-
        --api-enabled
        --base-url ${BASE_URL}
        --db-base ${DB_BASE}
        --db-host localhost
        --db-password ${DB_PASSWORD}
        --db-type pgsql
        --db-user ${DB_USER}
        --default-user admin
        --language en
      FRESHRSS_USER: |-
        --api-password ${ADMIN_API_PASSWORD}
        --email ${ADMIN_EMAIL}
        --language en
        --password ${ADMIN_PASSWORD}
        --user ${ADMIN_USERNAME}
    network_mode: service:tailscale

  postgres:
    image: postgres:17
    restart: unless-stopped
    logging:
      options:
        max-size: 10m
    volumes:
      - ./data/postgres:/var/lib/postgresql/data
    environment:
      POSTGRES_DB: ${DB_BASE:-freshrss}
      POSTGRES_USER: ${DB_USER:-freshrss}
      POSTGRES_PASSWORD: ${DB_PASSWORD:-freshrss}
    network_mode: service:tailscale

networks:
  freshrss:
    name: freshrss
Finally, we add our Tailscale auth key and other related configuration to .env:
# ===========================================================
# Tailscale Configuration
# ===========================================================

# Tailscale authorization key
TS_AUTHKEY=tskey-auth-########

# Tailscale tailnet node name
TAILNET_NAME=rss
TAILNET_SUFFIX=####-####.ts.net

# ... Other env configuration
Note a few minor changes to the Docker configuration
- The Tailscale container will be running in its own, custom network. This merely helps segregate this stack from any others we might run on the machine later.
- Both Postgres and FreshRSS are now configured to use the Tailscale container’s network. This means their ports will be published locally within that network so no more port mapping externally. It also means everything will talk over
localhostwithin the container network. (FreshRSS no longer connects to “postgres” but to “localhost” for the database.)
The overall impact of these changes is that now, when we run docker-compose up -d, our FreshRSS server is available to all of our machines on the Tailnet!

Running Your Own Cloud
Clearly I’m a huge advocate of running your own software in the cloud on your own hardware. I do it with Git. I do it with this blog. Now I can do it with an RSS reader. Hopefully now you can do it yourself as well!
And maybe you’ll even use your new RSS reader to subscribe here …
If not, you can at least join my mailing list to learn how to host other cloud software on your own self-managed stack. There’s much more to come!
- 1In the future I’ll provide further details on how to install things with Kubernetes as an alternative. Using Docker Compose for now is quick, easy, and much more accessible to casual users.
- 2You can always target
:latestdirectly, but I like to be explicitly on the software I run so I can handle potentially breaking upgrades manually when they happen. - 3The
docker compose upcommand will run the stack in the foreground with logs. If you want things to run in the background instead, usedocker compose up -dto daemonize the application.