Before my daughter was born, I had the goal of building a custom crib for her. I bought plans, spent hours watching how-to videos, and shopped for lumber. After investing a month or so preparing to build her a crib, I tabled the project.
It wasn’t that I lacked the skills. I didn’t have the time had other, more pressing things to handle before her arrival.
Thankfully, a friend of the family had an old crib they donated to the cause. We cleaned things up, assembled it, and our nursery was ready to go when she arrived.
My daughter used this crib until she was large enough for it to become a day bed. But when her brother was on the way, we moved her into a new twin and started prepping the crib for a new occupant.
First, we had to solve a problem …
This crib is an older, drop-side style one. We love the flexibility, even if drop-side cribs are frowned upon and more or less banned. I’ve taken care to ensure it’s assembled properly, and we take exhaustive care to ensure it’s used properly as well.
Except for when it broke.
The plastic bracket holding the drop-side to the frame snapped in half. These are impossible to replace. While using the crib as a day bed, there was no problem. Using it again as a crib, though, was not possible. We had to either correct the problem or find an alternative.
Becoming a maker
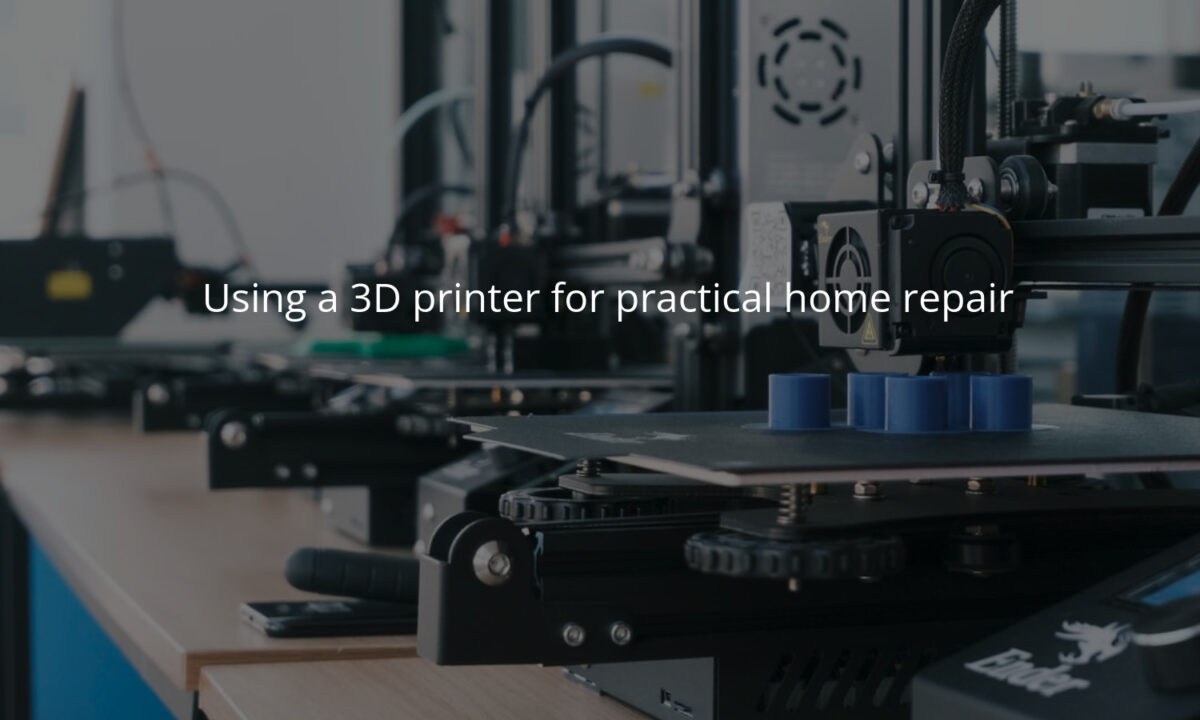
Last year, my brother bought me an Ender-3 3D printer. I used it to print a phone case for him, a few toys for my daughter, and some dorky Sierpinski triangle-inspired gadgets for myself. I had to wonder – could I fix the crib with it as well?
The first thing I had to do was model the bracket. I pulled out a caliper and started measuring dimensions. How thick were the walls? Where exactly where the screw holes? How much clearance did I need to fit onto the bed frame? After that, it became a matter of rebuilding the bracket in cyberspace – I watched a few videos about Blender 3D and worked my way to a rough model I could pass into a slicer and print on the Ender itself.

The original bracket. 
Caliper measurements and specs for the model. 
3D-modeled bracket in Blender. 
The final 3D print of the bracket itself.


The print took a couple of hours, and I was happy with how close my printed model was to the original, even if I did nearly exhaust all of my daughter’s pink filament in the process.
The limits of filament
Let me be clear that this was not where I called the project complete.
Filament is great for quick prototypes or cheap, disposable toys. It is not appropriate for a load-bearing bracket on a child’s bed.
Instead, I used my printed bracket as a cast positive and set it in silicone to cast a make a negative of what the bracket should look like. Then, to polish things off, I cast the bracket itself out of super hard epoxy resin. It’s clear (I didn’t bother with any dye), but actually stronger than the original injection-molded plastic bracket that came with the bed.

Silicone negative cast. 
The final bracket, cast in epoxy. 
The epoxy bracket installed on the bed.


The joy of self-sufficiency
I love to do my own DIY maintenance. I change my car’s oil. Maintain the brakes. Repair aging electronics. Build my own furniture. Taking the time to learn how to replace a broken, molded component was rewarding and helps demonstrate two things.
First, even smaller, disposable components are replaceable. Assuming, of course, you have the time and patience to build a replacements.
Second, an expensive 3D printer can be use for more than just to print novelty toys to entertain the family.
Knowing that I have the skills and equipment to do this kind of work is highly rewarding. Knowing also that I can be highly self-sufficient, particularly when it comes to simple repairs, is sheer joy.